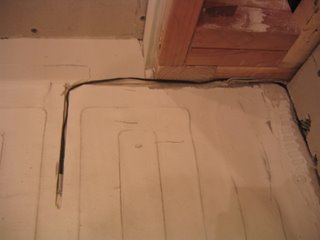
 This is the detail of the thermostat probe installed into the morter bed. Nice job cutting a notch for the probe so that it sits level and the tile will lay nice and flat. The other wires are part of the heating mat and have already been installed and then morter applied on top.
Mark knows the in's and out's of all this which has been great. He even knew about the card for the Nu-Heat floor that needs to be signed at three steps during the installation. If you miss one of these checks... the warranty is void. yikes! Good to do it right the first time and have coverage just in case something doesn't work... which means pulling up the floor to fix it! Unlike my failed attempt with the contractor at the onset of this job.... in this case I finally feel like it's good to have a pro doing the work. That's about it for day one of the tile installation, not much else you can do except for waiting on things to dry.
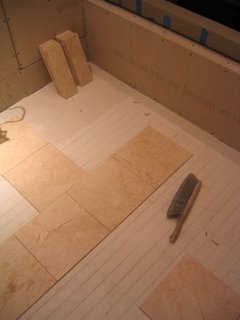 The second day consisted of installing the floor tile. The first step is to cut and lay it all out.
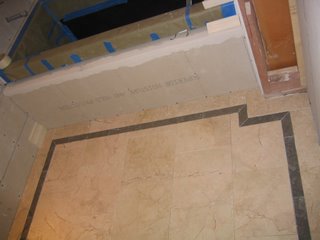 Here is the floor after about a days worth of work. All the floor tile has been cut and installed. Not too bad for one day... this guy is fast!
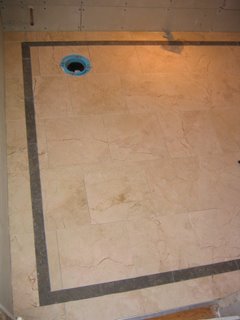 Another angle of the floor. The blue ring is the "water closet flange" It's great that its official name is something so elaborate.. why not just toilet connector or something like that.... :)
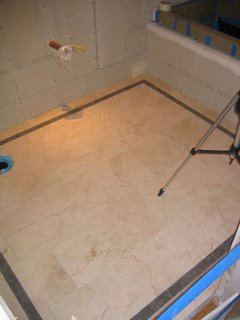 One more shot for good measure!


No comments:
Post a Comment