Finished up the drywall with 3 coats of mud and then sanding. I have hear of dustless methods of sanding, or wet sanding.. but I just wanted to get it done. All the sanding only took about 1 or 2 hours, but the results are very dusy.. yuck I hate this part.
 After the sanding I started the mouldings. It was necessary to get the moudlings done around the doorway and one of the windows to have something for the tile guy to butt up against. In the case of the window, I wanted to be sure that there was sufficient room between the bullnosed edge of tile in the shower and the moudlings around the windows.
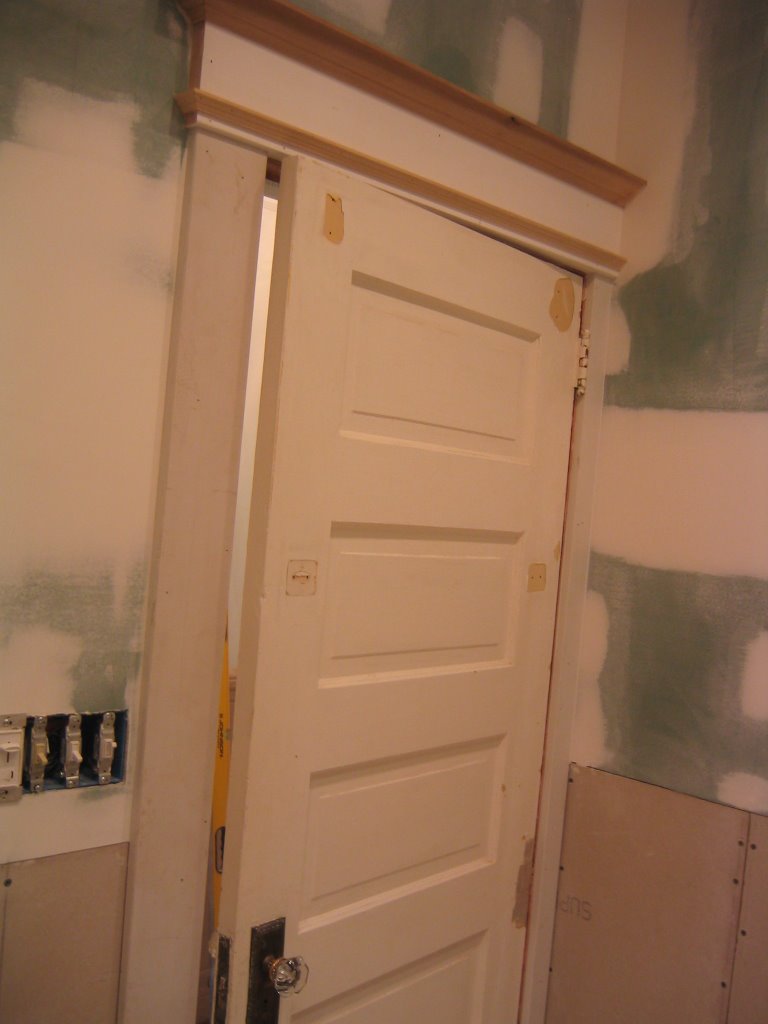 I have done lots of moudlings already on the house so this is just a matter of matching what is already done in the rest of the house.
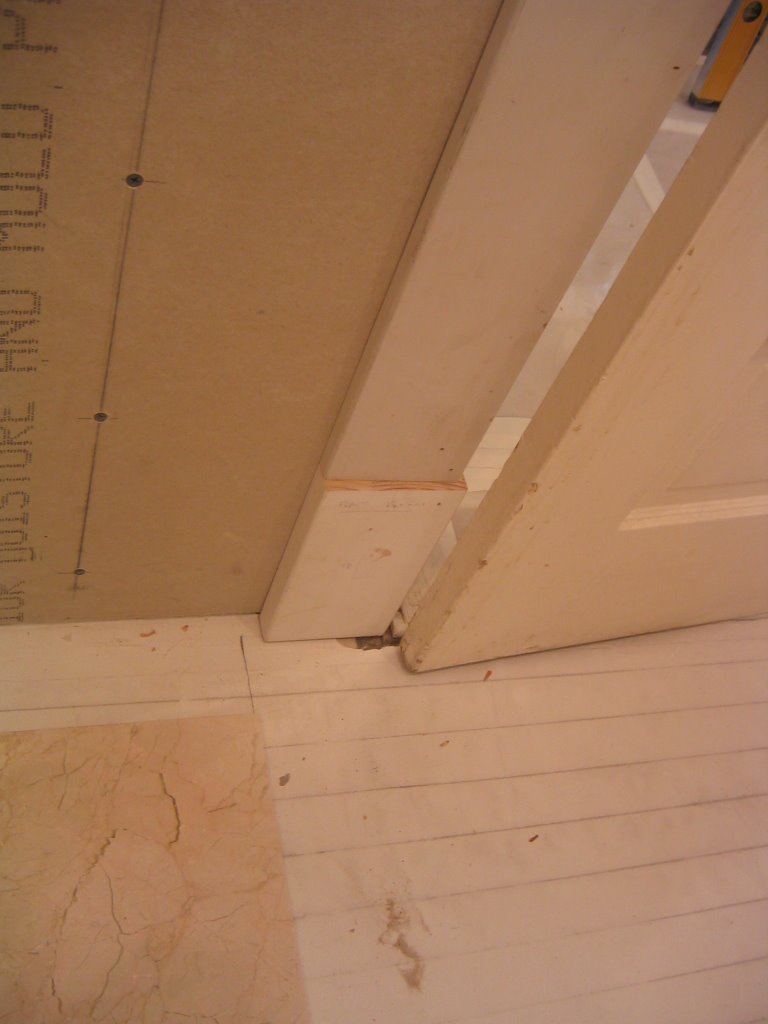
Here is the door detail.
 and this is the window detail. Just one more window to go and then the crown. One of the most important steps to finishing off the mouldings is to fill all the holes with a wood putty and also caulk all the gaps to create a clean and solid look. It's amazing the difference that a bit of caulking can make to the overall look and quality of the project.
I splurged a bit on this buy purchasing a new miter saw. After lots of research and going to the store to try out a few models I decided on teh Bosch 4410L. It's a 10" slide saw with a laser guide. My old miter saw is just about dead and it's about as no frills as you can get. It does get the job done, but since it's just a 10" fixed miter, it doesn't do well with any lumber that it much wider than 4 1/2" in width. It's even worse when trying to deal with crown that should be cut at the installation angle in the saw. Flipping the wood and doing a double cut takes lots of time and usually yeilds an imperfect cut.


No comments:
Post a Comment