Jenny and I went to NYC so needless to say that status of things on the bathroom haven't changed in a while. NYC was great, busy, vibrant, fun, lots of great things going on everywhere... it was hot!! really hot!! yikes! When do we go back??

Some of the highlights of our trip included mayhem at the airport. We have mad mullet hair in front of us and behind was two crazy couples yelling to each other a
bout how to use a cellphone and why men take less room in a suitcases than women. The guy kept saying "it's what you make of it... it's what you make of it..."
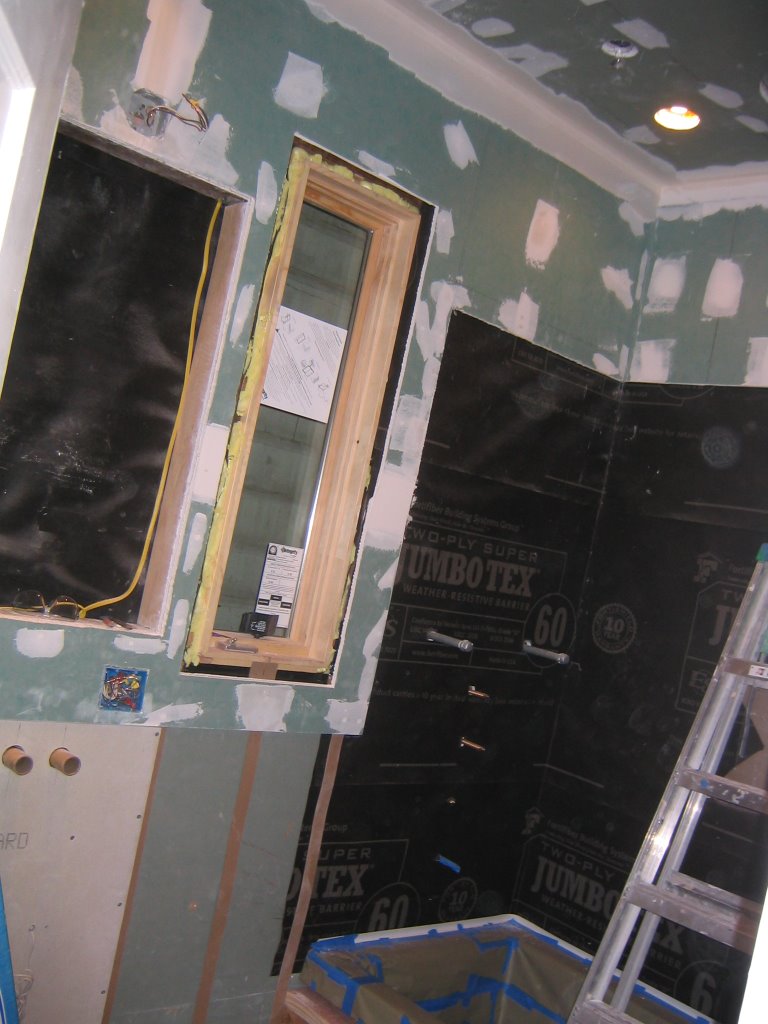
I did a bit more mudding and am getting close to 3 coats on the whole room. It's amazing how long the little details take. The little light slit area along with the recessed circle over the rain shower have taken so much time! So many corners and edges to detail out... The goal is to finish up on the mudding and sanding over the weekend and get all the drywall primed!
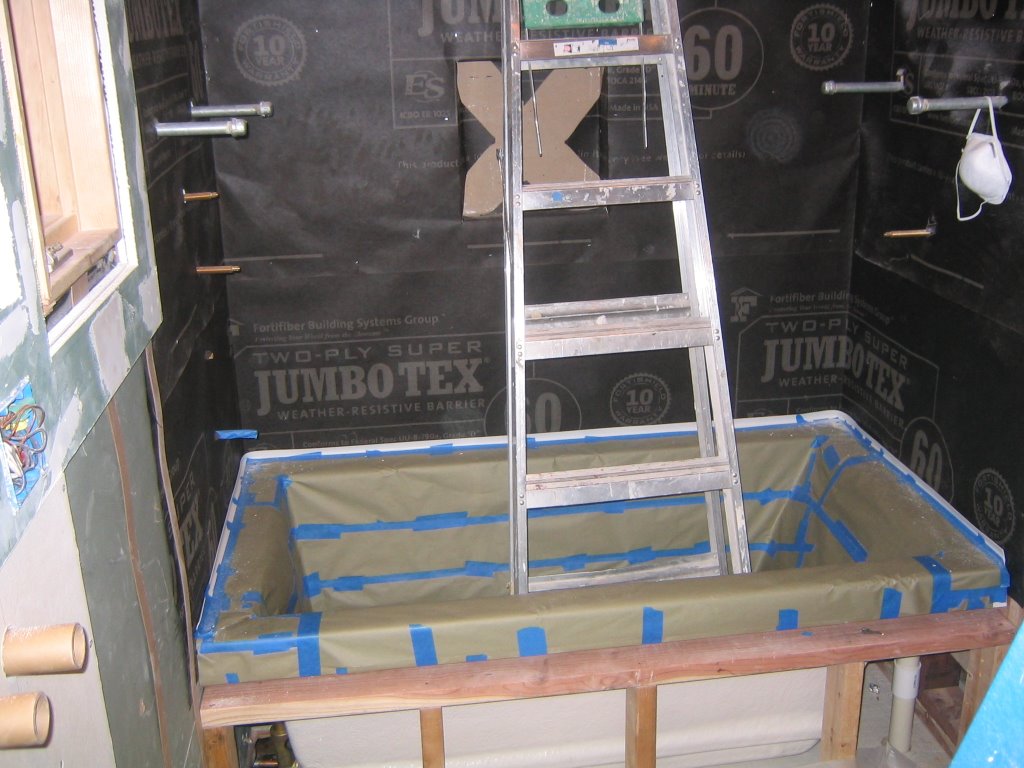
Another small issue that I ran into was with the rain shower extension. I ordered this from homeannex.com, the best prices with no shipping on orders over 75 bucks and no tax! Double check on all lead times when ordering. If you ask, they will tell you about how long things should take. They told me this item would take 2 weeks and it arrived in about a week. Wow! This was actually ahead of schedule.. that never happens! I went with the opella brand and upon it's arriving realized that it is a 3/4" pipe and not 1/2" uggg... I had roughed in the plumbing for the rain shower using a transition from 3/4" to 1/2" at the very top and finished off with a 1/2" ipc 90. The hans-grohe rain shower head is configured for 1/2" so I thought that this was the way to go. Opella also makes a 3/4" to 1/2" transition piece for the end of the rain shower extension kit. hmmmm.... I wish that I knew this earlier. I would have just roughed in the whole thing using 3/4" and finishing off with a 3/4" ipc 90. This would deliver the most water and the best shower. Now I have a few options to get this all working... will see how it goes and show the details later.
oh yeah.. the tile guy is really supposed to start tomorrow morning! for real!
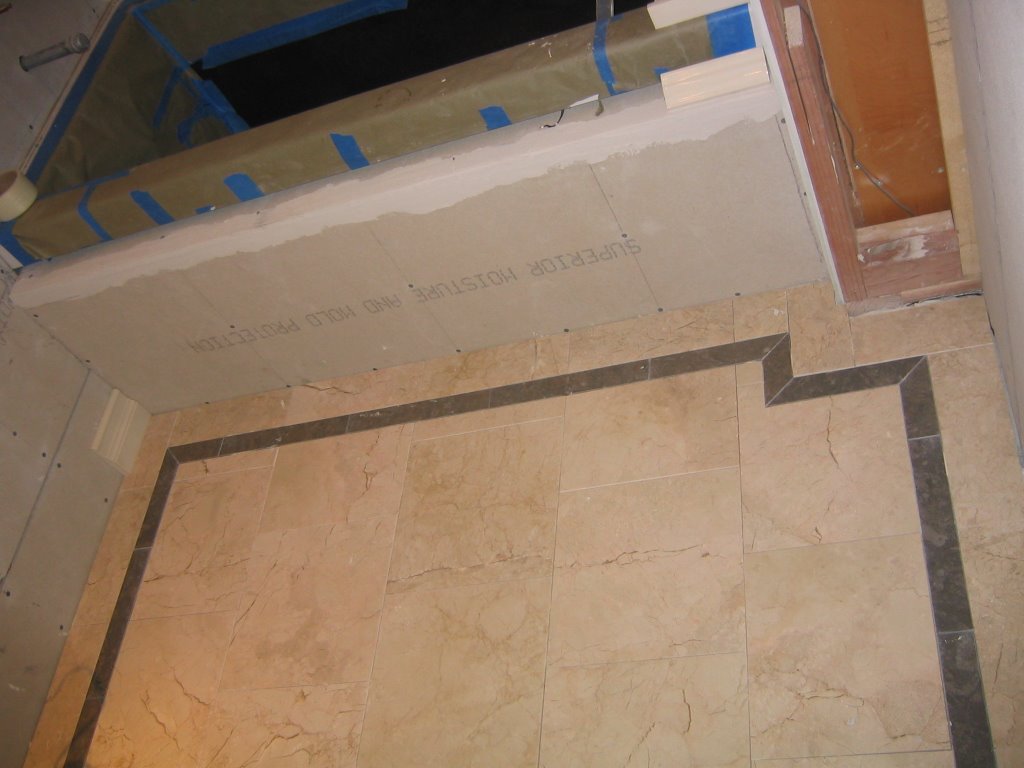
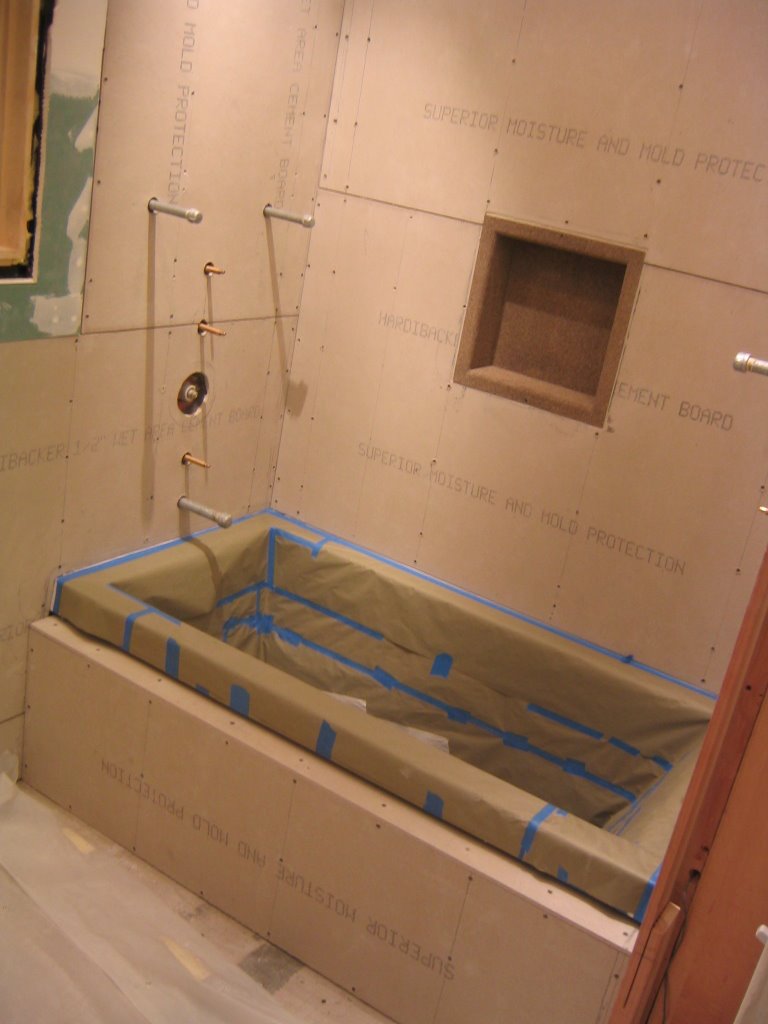
 Here is the current view of their progress. Shower surround and shampoo niche starting to look good.
 Wall has field tile and base tile in place, just need to put on the chair rail cap. The holes are for the faucet.
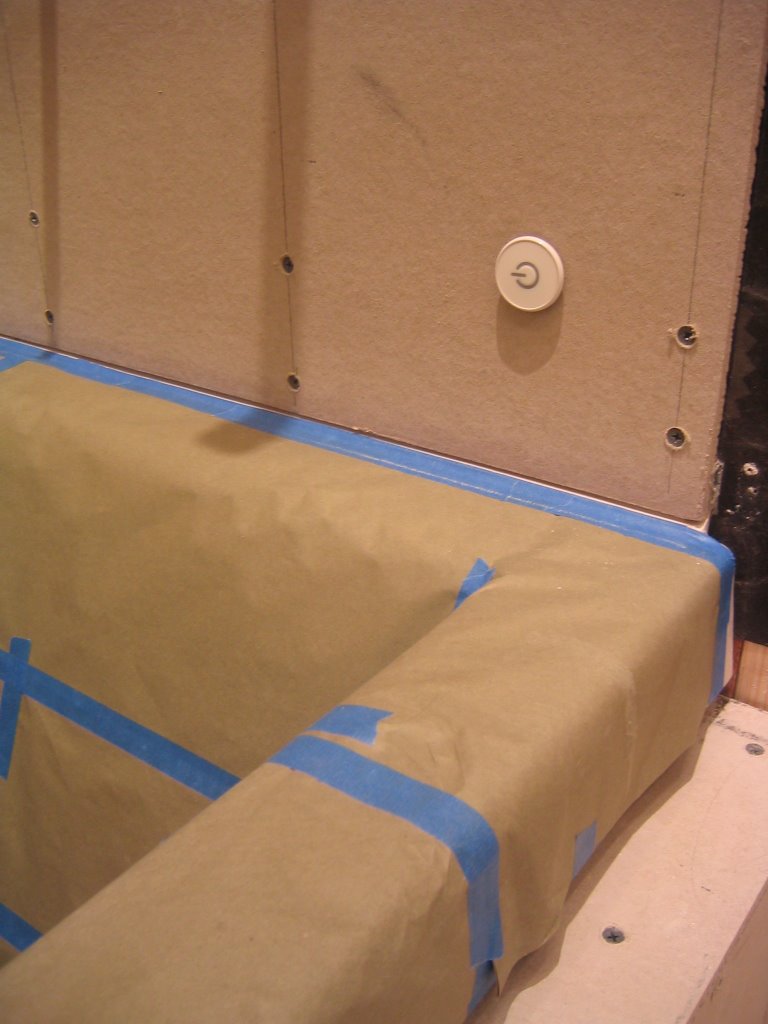
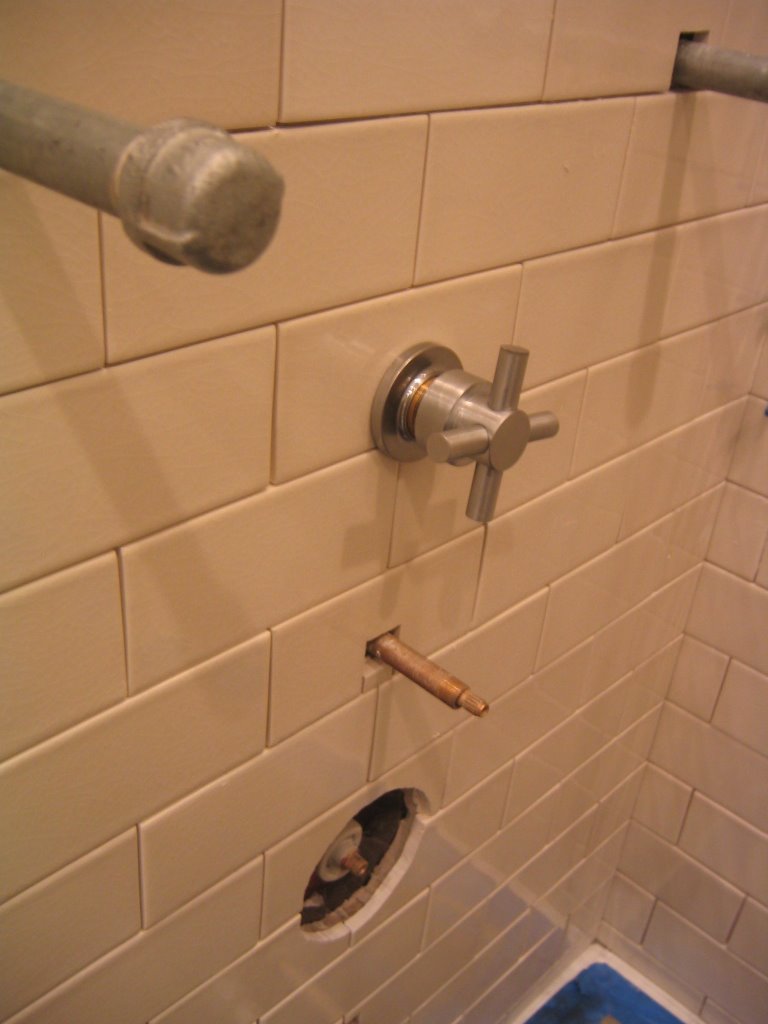 I couldn't help but try to get an early preview of what the volume control knobs would look like against the tile.