 Saturday got a bit of a late start... needed to sleep!
The goal of this weekend was to get all the stuff ready for the electrician to do his work during the next week. Basically that meant to get all the electrical boxes placed and account for all the fixures and where the switches would be placed. Also a few additional things were on this list.
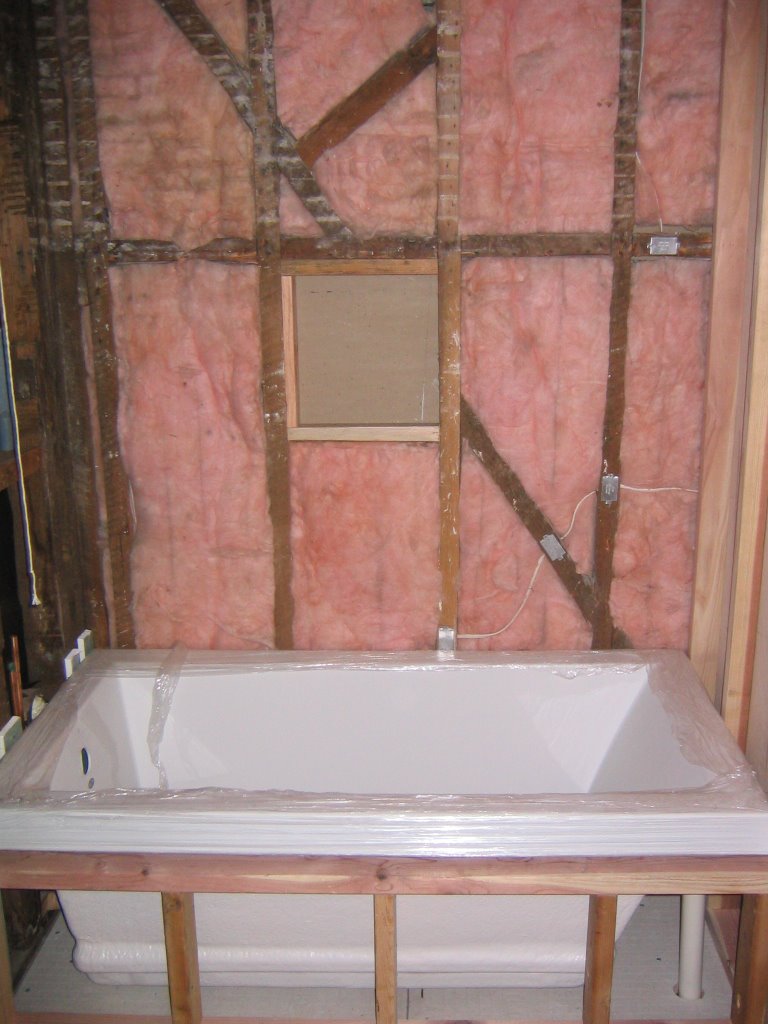
After realizing that there was not enough depth in the wall to fit the shampoo niche...uggg.. Jorge and I moved out the tub and framing an additional inch to provide enough room. Good thing that we didn't really nail all the framing securely. I kind of figured something like this would happen so we only used a few finishing nails and screws that can be backed off easily. I'll use the big 3" framing nails later when I am sure that all is going to stay where it is!
First had to remove one of the diagonal wall supports and then you have the frame ready for the installation of the metal shampoo niche unit. That will go in later after all the cement board and moisture resistant drywall.
 The next project was to install the blower for the tub. The installation instructions mentioned that the blower should not be installed in a closed location due to overheating. It's also a good idea to have easy access just in case servicing of the unit becomes necessary.
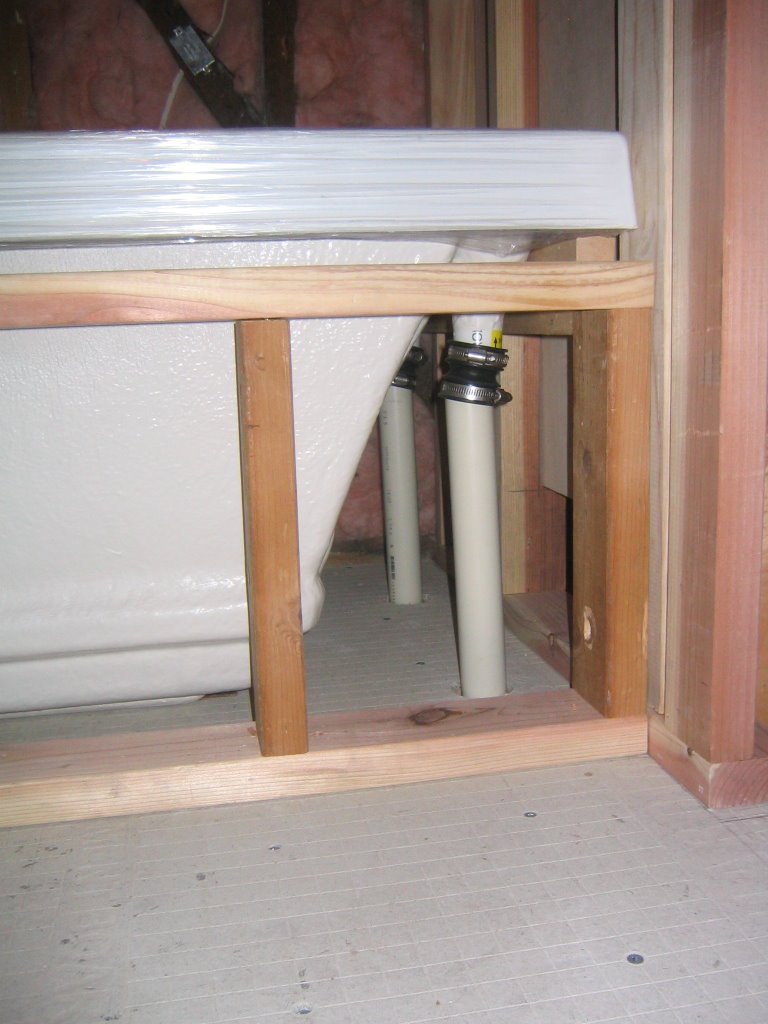 After lining everything up, we drilled a small pilot hole for each. I had my fingers crossed hoping that the holes were clear of obstructions and floor joists. We got lucky on this one and all was clear. We drilled the larger diameter holes with a hole cutting saw. It took a bit to get through all the layers of cement board and subfloor etc.
The second step was to mount the motor in the basement. This was easy enough, just put in some 2x4 framing and then a piece of plywood on top. Mouting the motor was done with just two screws.
While we were making holes in the floor, we put in the hole for the tub drain. This was done with the 4 1/4" hole saw.
Jenny brought us Mexican food for lunch! Sweet time to chow! Thanks Jenny!
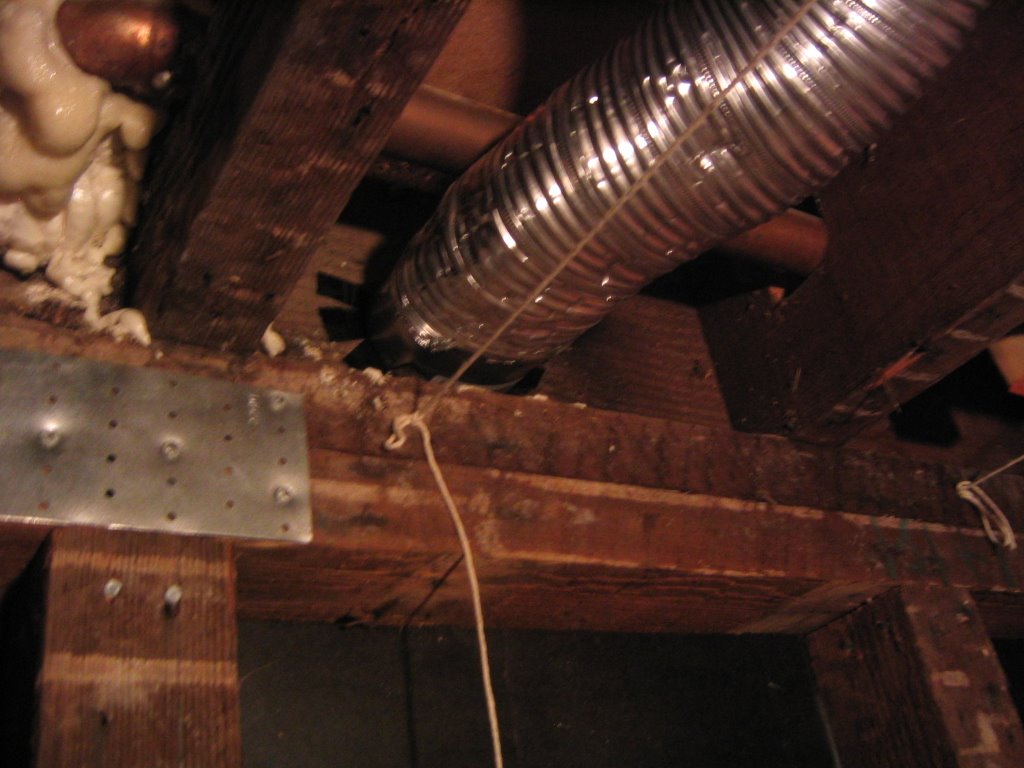 Now to put the ceiling fan exhaust in... This required drilling a 4 1/4" hole in the celing joist to install the louvered vent cover. After drilling a pilot hole, we found that a waste line pipe was obstructing thing on the exterior of the house. We decided to move the location over. This new location was clear on the exterior for the louvered vent but required putting another 4" hole through a joist. This joist already had a large notch in it so we didn't feel that bad by making it a bit bigger for the vent pipe.
I used the sticky plastic membrane flashing material to line the hole in the wall. This stuff makes sure that no water will get in, it's crazy sticky!
On Sunday I ended up just working by myself as there wasn't much heavy lifting to do today. I had to get all the electrical boxes installed today so that the electritian could do his work during the coming week.
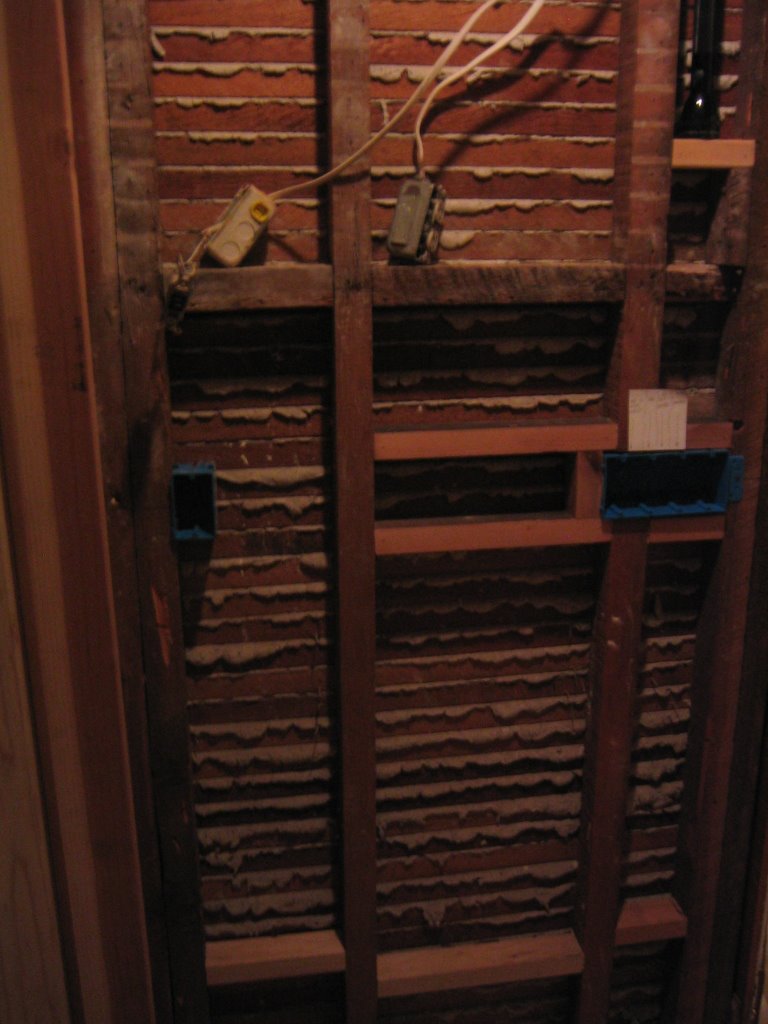 First issue was that the switch box as you enter the bath was to be placed right where the wall stud was.. uggg! To make matters even more compicated, this is plaster and lath and the other side of the wall is the hallway. This stuff is super fragile... I had to be ultra carefull removing the piece of stud required to get the 4 gang electrical box to fit in there. I cut the stud very carefully by hand with a pull saw. These things are really great and have gotten me out of a jam more than once. Once I cut through the stud in two places I could carefully remove the piece without disturbing any of the plaster and lath. There was only a few small nails to worry about, other than that it came out quite easily. Here it is all done.. the white piece of paper is just a note for the electrician.
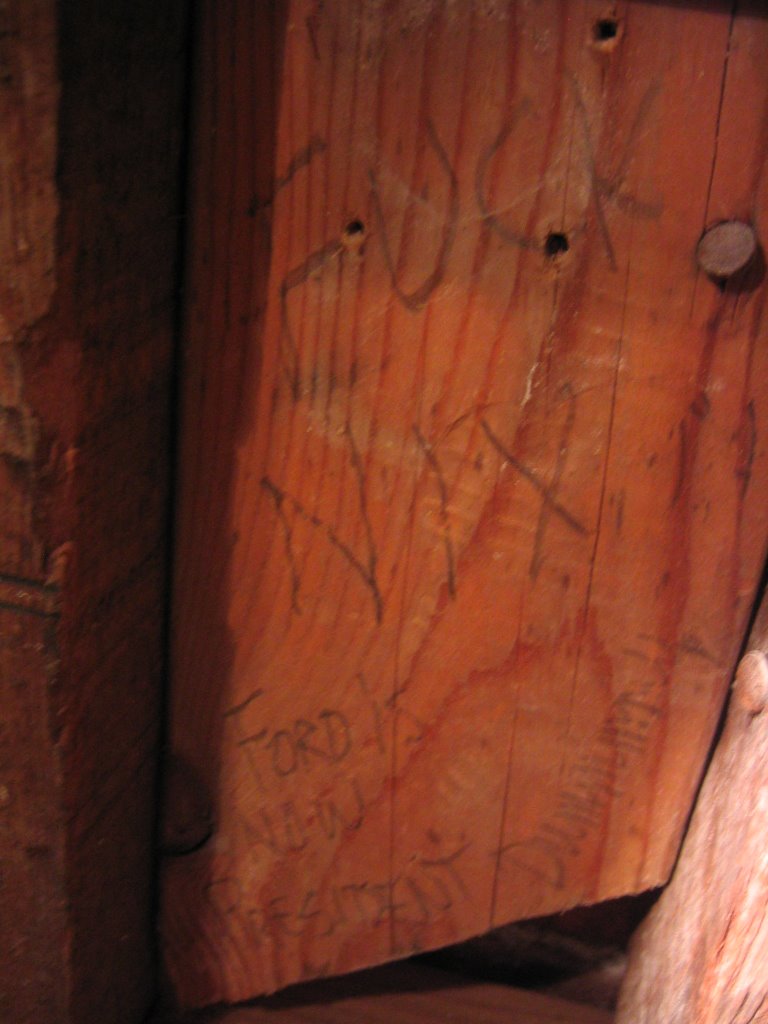 This is a bit of a weird random one... Behind the existing light switch, I found a little reminder of the past. Someone had written on this piece of wood. "Fuck Nix Ford is new president Dummy" Hmmmm.. who knows what you are going to find when remodeling an old home. This was a precious little jem of a find for sure, probably written in 1974 or so.... It incorporates a sense of humor, personality, and clearly a time in history reflected in the not so elegant words of a disgruntled citizen. Wow... seems like things never change! Here we are in 2006 and I feel like writing the same thing about our current president. Guess I will just have to wait for the "impeachment" errrr... should I say the proper term of "resignation?" and then I can leave another little note of my own.
 Finished adding a few extra pieces of wood to get the exact rough opening for the mirror / medicine cabinet. Installation of this should be easy enough and now I am sure it will be centered perfectly.
The electrical box for the light fixture above the mirror was screwed into place. I also notched out the 2x4 support just below the white square piece of paper in the photo. This is to allow the necessary amount of depth for the outlet box. I didn't have a 2 gang box... will have to install that one later this week.
I also installed the rough pluming for the faucet. You can see it between the two horizontal 2x4's. This is a Kohler unit that sits inside the wall. When the installation is complete all you will see is the handles and the spout! That should look really nice.
That was about it for this weekend... Everything should be in a good enough state for the electrician to start roughing in all the electrical this week. The goal is to get the plumber to come in next weekend to rough in the plubing. Once this is done I can start to hang the ceiling. The installation of the ceiling is a bit non-conventional as it wil be done to provide sound proofing from the upstairs unit.


No comments:
Post a Comment